
5 Digital Impression Mistakes That Lead to Remakes and How to Avoid Them
Digital impression mistakes are one of the most preventable causes of crown and bridge remakes. A scan that looked clean on the monitor arrives at the lab with a clipped margin, a missing bite registration, or mesh artifacts right over the preparation. What follows is an open-margin crown, a redo appointment, and a frustrated patient.
Remake rates tend to be lower when practices use digital impressions instead of traditional PVS; industry commentary reports that digitally initiated cases sometimes fall below 1% (Evident Digital, 2025). Still, the industry-wide estimate for U.S. dental lab remakes hovers around 4% (Spear Education), and the quality of scan data matters at least as much as the scanner itself.
These are the five scanning errors we see most often at Summit-Horizon, along with the practical fix for each one.
The Short Version Most digital impression remakes trace back to five preventable scanning errors: insufficient margin capture, missing opposing data, rushing through the prep area, skipping on-screen verification, and misaligned bite registrations. Each one is fixable with small adjustments to your scanning workflow.
Mistake 1 of 5: Insufficient Margin Capture
This is the single most common reason Summit-Horizon requests a rescan. The margin line is the foundation of every crown and bridge design: if the software cannot identify it clearly, the technician is forced to interpret, estimate, or ask you to scan again.
Margins fail to capture for predictable reasons. Blood or saliva floods the sulcus before the scanner reaches the prep. Retraction cord has been removed too early, or not placed at all, and tissue has rebounded over the finish line. The scanner passes over the margin at a steep angle, capturing the occlusal surface in high resolution but clipping the cervical third. Sometimes the margin is technically present in the file but so blurred that the CAD software cannot distinguish it from surrounding tissue.
At the lab, a poorly defined margin means the crown will either have open margins, overcontoured emergence, or both. Neither outcome seats confidently at delivery.
The Fix Achieve hemostasis and tissue displacement before you start scanning. Use retraction cord, hemostatic agents, or a diode laser as the situation demands. Scan the margin from multiple angles, not just the occlusal view. After scanning, zoom in on the margin in your scanner’s preview: if you cannot see a crisp, continuous finish line on screen, the lab cannot see it either. Delete and rescan that section rather than submitting incomplete data.
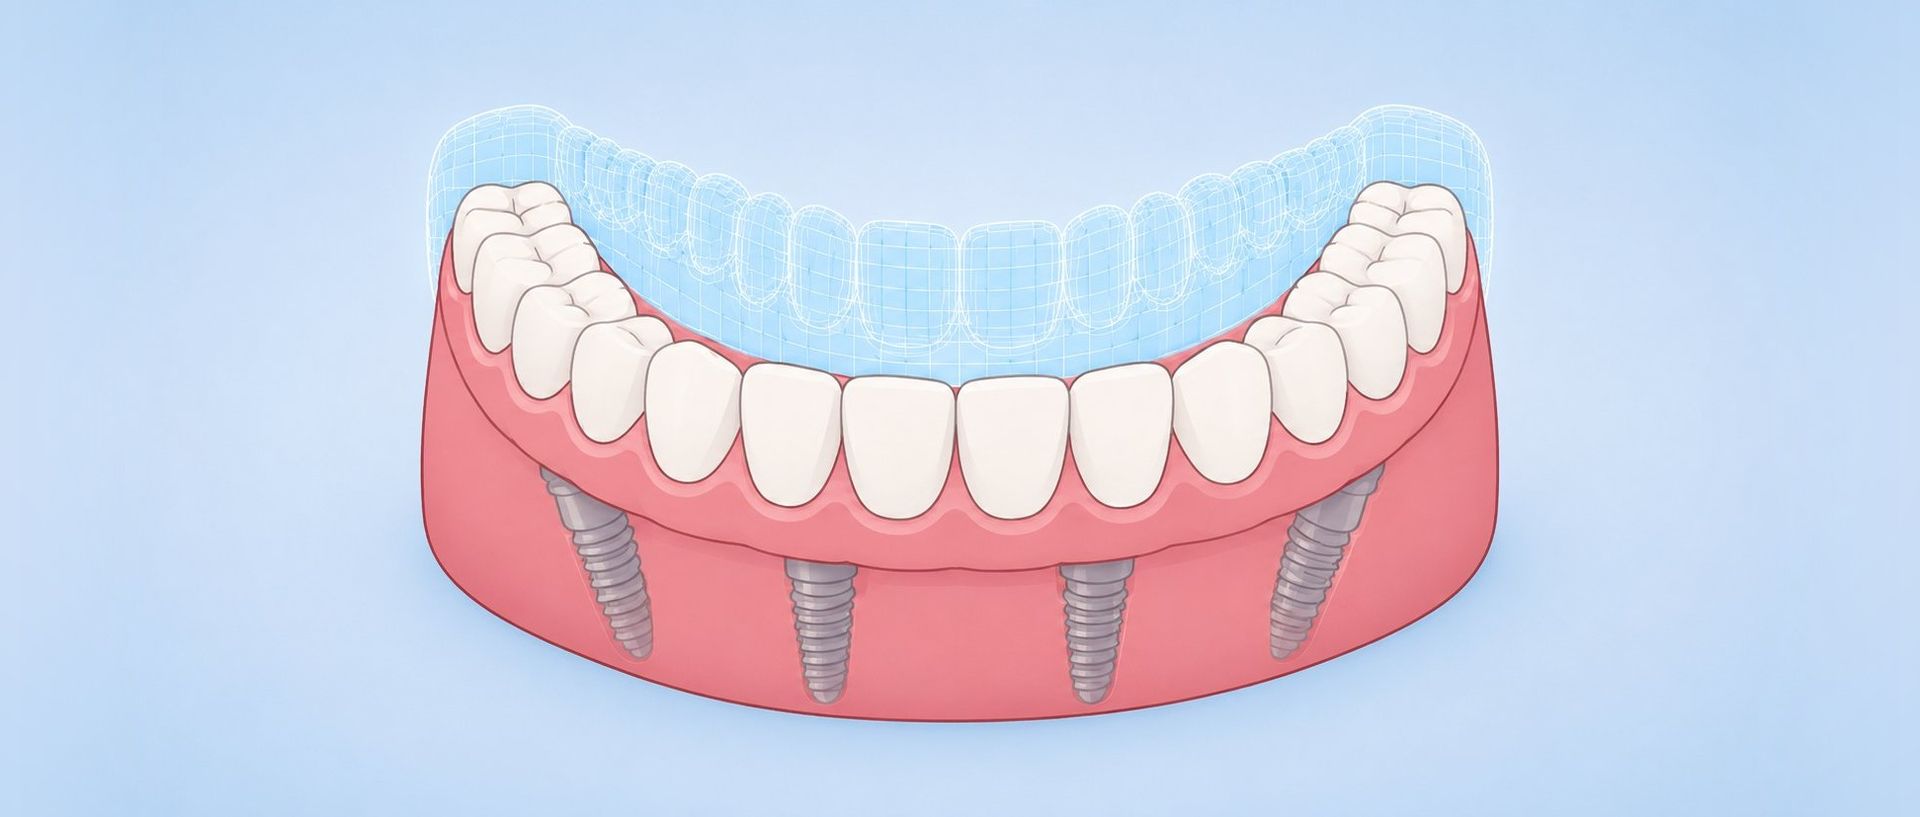
Mistake 2 of 5: Missing or Incomplete Opposing Arch Scan
You scanned the prep beautifully. Full margin, clean data, no artifacts. Then you uploaded the case without a complete opposing arch or bite registration.
Without opposing data, the lab has no way to design occlusion. The technician cannot set contact points, verify clearance, or build functional anatomy. What arrives at your office is a crown that looks right on the model but contacts too high, too light, or not at all when it meets the patient’s bite. Significant chairside adjustment follows, or the case goes back for rework.
A partial opposing scan creates similar problems. If only the teeth adjacent to the prep are captured, the lab lacks context for the broader occlusal scheme. Cusp tips, marginal ridges, and guidance surfaces outside the scan window all influence how the restoration should be shaped.
The Fix Capture a full opposing arch scan every time, even for a single-unit crown. Follow it with a buccal bite registration in maximum intercuspation. Before exporting, verify that the scanner software shows proper occlusal contacts between the arches. If the bite alignment looks off in software, it will be off in the lab’s virtual articulator too.
Mistake 3 of 5: Scanning Too Fast Through the Prep Area
Modern intraoral scanners are fast. Current-generation Primescan, Medit, iTero, and 3Shape TRIOS platforms are commonly marketed as capturing a full arch in roughly 30 to 90 seconds under ideal conditions, though clinical scan times typically land between one and three minutes depending on operator experience, patient anatomy, and model generation. That speed is a genuine clinical advantage, but it creates a temptation to move at the same pace everywhere, including over the preparation itself.
Speed-scanning through the prep area produces mesh holes, stitching artifacts, and low-resolution geometry right where precision matters most. The scanner captures enough data to display a complete-looking model on screen, but the underlying STL file contains voids or distorted surfaces in the critical zone. At Summit-Horizon, these issues show up immediately when we import the file into our CAD/CAM software: the die cannot be accurately trimmed, connector dimensions are unreliable, and the margin line that looked clean at a glance falls apart under magnification. A 2018 systematic review of intraoral scanner accuracy reported that full-arch scans showed greater deviation than partial-arch scans among the factors influencing scanning accuracy (Abduo and Elseyoufi, Eur J Prosthodont Restor Dent, 2018).
The Fix Slow down over the preparation and the two teeth immediately adjacent to it. Use deliberate, overlapping scan paths from multiple angles: occlusal, buccal, lingual, and proximal. Most scanners generate higher-resolution data when the wand moves steadily through complex geometry rather than sweeping past it. Save your speed for the full-arch capture of unprepared teeth, where minor mesh imperfections have no effect on restoration fit.
Mistake 4 of 5: Not Verifying the Scan Before Submitting
One of the biggest advantages digital impressions hold over PVS is the ability to evaluate accuracy before the patient leaves the chair. With a traditional impression, you packed the tray, pulled it, and hoped the margins were captured. If they were not, you found out days later when the lab called. Digital scanning eliminates that delay, but only if you actually use the preview.
Skipping verification is surprisingly common. The scan completes, the software reports no errors, and the file is exported and uploaded within seconds. Problems that were visible on screen, such as a stitching artifact on the lingual surface, a mesh hole near a proximal contact, or a section of gingiva draped over the margin, arrive at the lab as final data, triggering a rescan request that delays the case by days and costs the practice a second appointment slot.
The Fix Before exporting, rotate the 3D model on screen and inspect every surface of the preparation. Zoom in on the margin circumferentially. Look for holes, blurred zones, and areas where the mesh appears stretched or discontinuous. If you spot a problem, delete that section and rescan it while the patient is still in the chair. Two extra minutes of verification prevents two extra days of turnaround.
Mistake 5 of 5: Incorrect Bite Registration or Misaligned Arch Relationship
Even with a perfect prep scan and a complete opposing arch, the case can still fail if the bite registration is off. This happens when the patient does not close fully into maximum intercuspation during the buccal bite scan, when gauze or cotton is inadvertently left between the arches, or when the scanner software’s auto-alignment places the arches in the wrong relationship and the error goes uncorrected.
At the lab, virtual articulation drives most occlusal design decisions: contact placement, cusp height, guidance angles, and vertical dimension. When the bite data is wrong, the crown is designed to fit a relationship that does not exist in the patient’s mouth. Contacts land in the wrong places, vertical dimension is off, and the restoration requires extensive adjustment at delivery or an outright remake.
A 2019 National Dental Practice-Based Research Network study documented a 3.8% overall remake rate for single-unit crowns, with proximal misfit, marginal errors, and esthetic failures cited as the most common clinical reasons for crown rejection (McCracken et al., J Prosthodont, 2019). Bite registration errors plausibly contribute to misfit at the proximal and marginal surfaces, though McCracken's study did not isolate scan-workflow causes.
The Fix Have the patient close into maximum intercuspation with nothing between the teeth. Capture the buccal bite from the buccal aspect while the patient holds still. After the scanner aligns the arches, verify the contacts on screen: they should match what you see clinically. If the software’s auto-alignment looks off, manually adjust it or retake the bite scan. Do not export until the virtual occlusion matches the clinical occlusion.
How Summit-Horizon Supports Your Digital Scanning Workflow
Summit-Horizon accepts digital impressions from every major intraoral scanner platform: Primescan, Medit, iTero, 3Shape TRIOS, and all other systems that export STL or PLY files. Our CAD/CAM team works in 3Shape, Exocad, and Dentsply Sirona InLab, so regardless of which scanner you use, your data flows directly into our design workflow without format conversion.
When a scan file arrives with any of the issues described above, we do not silently work around the problem. Our team contacts you promptly with specific feedback: which area needs rescanning, what the issue looks like in our software, and what to adjust on the next capture. That feedback loop is how practices reduce their rescan rates over time and get restorations that seat right the first time.
Ready to try the process? Upload your digital case through our secure portal, and we will confirm file quality before starting design. If you are transitioning to digital impressions or want to refine your technique, Summit-Horizon’s training video library covers scanner-specific workflows, tissue management for digital captures, and file submission best practices. Our hybrid digital-analog workflow also means there is no pressure to go fully digital overnight: we accept PVS impressions alongside digital scans, so you can adopt at whatever pace works for your practice. Choosing a lab that supports your scanning workflow, not just your material orders, is one of the most overlooked factors in selecting a dental lab partner.
Have questions about scan file requirements, or want to troubleshoot a recurring issue before your next submission? Contact Summit-Horizon to speak with our digital workflow team. You can also submit a case and we will review the scan quality, flag any concerns, and confirm file acceptability before we begin design.
References
Share Post
Search Post
Recent Insights