The Complete Full-Arch Implant Workflow: From Digital Plan to Final Prosthesis
The full-arch implant workflow turns a failing or fully edentulous arch into a fixed, functional prosthesis through a coordinated sequence of digital planning, guided surgery, and laboratory fabrication. A patient facing terminal dentition or a long-worn denture is looking at a real change: teeth that are screwed to implants rather than resting on tissue. Delivering on that promise depends on how cleanly each stage hands off to the next, and on how early the lab joins the plan.
This guide walks the workflow stage by stage, from data capture and prosthetically driven planning through guide design, guided surgery and the immediate provisional, then verification, prototype try-in, and the definitive prosthesis. Each stage shows where the lab fits, what the supporting evidence says, and how a tight digital chain reduces surprises at delivery.
The Full-Arch Workflow at a Glance
| Stage | What Happens | The Lab's Role | Key Output |
|---|---|---|---|
| 1. Capture data | Acquire and merge a CBCT and an intraoral scan | Guide scan protocol; register the datasets | Accurate 3D planning model |
| 2. Plan | Position implants from the final prosthesis backward | Collaborative, prosthetically driven planning | Approved implant positions |
| 3. Surgical guide | Translate the plan into a seating template | Design and fabricate the guide | Surgical guide for placement |
| 4. Surgery + provisional | Surgeon places implants; immediate load where indicated | Fabricate the provisional prosthesis | Implants placed, fixed provisional |
| 5. Verify + prototype | Confirm fit; try in a prototype | Build the verification jig and prototype | Validated fit, esthetics, occlusion |
| 6. Definitive | Fabricate the final restoration | Mill the zirconia or titanium-bar hybrid | Definitive fixed prosthesis |
Stage 1: Capturing the Data (CBCT and Intraoral Scan)
Every full-arch case begins with two datasets that have to agree. A cone-beam CT (CBCT) captures bone volume, density, and the location of vital structures: the inferior alveolar nerve, the mental foramina, the sinus floor, and the nasal cavity. An intraoral scan (IOS) records the soft tissue, any remaining dentition, and the existing denture or a scan appliance. The plan lives at the intersection of the two.
Merging the datasets is where accuracy is won or lost. A CBCT shows what sits under the tissue; the surface scan shows what the prosthesis has to fit. Aligning the two, often using radiographic markers or matched reference points, creates a single 3D model that reflects both the anatomy and the prosthetic envelope. The quality of that merge sets the ceiling for everything downstream. A clean, well-registered model supports a precise guide and a predictable prosthesis. Registration error, by contrast, propagates into every stage that follows.
This is the point where digital implant treatment planning becomes a true collaboration. Scan-body placement, the choice between a scan appliance and scanning the existing denture, and the handling of edentulous spans all influence registration quality. A lab that reviews the data early can catch a thin or distorted scan before it turns into a planning problem.
Stage 2: Prosthetically Driven Virtual Planning
With the merged model in hand, the case gets planned backward. The driving question is not where the bone happens to be, but where the teeth need to sit and how to support them. That reversal is the core of restoratively driven planning. A definitive prosthesis is set up virtually first, and its tooth positions, occlusal plane, and emergence profile become the target. Implant positions are then chosen to serve that target while respecting the available bone and the structures the CBCT revealed.
In practice, that means setting a virtual tooth arrangement first, then placing implants where they can carry the load, clear the nerve and sinus, and allow screw-access channels to exit in restorable positions. For an All-on-4 design, the two posterior implants are typically tilted to gain anteroposterior spread and to sidestep the sinus or nerve without grafting. An All-on-6 adds support and can shorten cantilevers. Planning also accounts for prosthetic space, the room needed for the framework and teeth between the implant platform and the opposing arch.
The lab's role here is collaborative, not after-the-fact. When the lab works in the planning software alongside the provider, screw-access positions, cantilever length, and material thickness are designed into the case from the start rather than discovered at the prototype stage. That is the difference between a plan that fabricates cleanly and one that forces compromises later.
Stage 3: Designing and Fabricating the Surgical Guide
Once positions are approved, the plan has to reach the mouth. That job belongs to the surgical guide, a printed or milled template that seats on teeth, bone, or mucosa and directs the drills, and often the implants, along the planned trajectories. Designing and fabricating that guide accurately is one of the lab's central contributions, and it is the step where the digital plan either holds or drifts.
Guided placement is measurably more accurate than freehand. A systematic review and meta-analysis comparing approaches reported mean angular, entry, and apex deviations of 7.46°, 1.56 mm, and 2.22 mm for freehand placement, versus 2.57°, 0.72 mm, and 0.88 mm for fully guided static surgery (Werny et al., 2025). The gap is clinically meaningful in a full-arch case, where a small angular error at the platform becomes a large discrepancy at the screw-access exit.
Pooled data place static guided surgery in a consistent range. Across 20 clinical studies and 2,238 implants, mean deviations were 1.2 mm at the entry point, 1.4 mm at the apex, and 3.5° angular, with the authors recommending a safety margin of at least 2 mm (Tahmaseb et al., 2018). Those figures describe guided surgery on its own, not a head-to-head against freehand, and they are clinically acceptable rather than perfect. The same review found a significant accuracy advantage for partially edentulous cases over fully edentulous ones, so a full-arch guide is working in the harder of the two scenarios. Planning with that reality in mind, including the 2 mm margin, is what keeps "clinically acceptable" from sliding into "too close to the nerve."
Summit-Horizon handles surgical guide fabrication from the approved plan, designing each guide for stable seating, adequate irrigation, and clear drill paths. For a closer look at how guide design drives placement accuracy, see how surgical guides improve placement accuracy.
Stage 4: Guided Surgery and the Immediate Provisional
On surgery day, the provider places the implants through the guide, following the planned sequence of osteotomies and, in many systems, guided implant delivery. In the classic All-on-4 protocol, four implants support a full-arch fixed prosthesis, with the posterior pair angled for spread. All-on-6 adds two more implants for additional support and load distribution. The lab does not place implants. Its job is to have the immediate restoration ready for the moment the implants are in.
Where primary stability and the treatment plan allow, an immediate-load provisional goes in the same day. That provisional, usually a printed or PMMA fixed prosthesis, gives the patient fixed teeth right away and begins shaping the soft-tissue contours the definitive will follow. It also serves as a real-world test, since how the occlusion behaves, how phonetics sound, and how the patient adapts all inform the definitive design.
Turnaround on the provisional depends on the case and the workflow agreed with the lab. The practical goal is simple: the provisional should be ready when the surgical team needs it, converted chairside to the placed implants, and comfortable enough to wear through healing without overloading the implants.
Stage 5: Verification Jig and Prototype Try-In
Before the definitive prosthesis is made, two checks protect the investment. The first is the verification jig. Fabricated by the lab and tried in over the implants, it confirms that the master cast reproduces the implant positions accurately and that the framework will seat passively. Passive fit matters: a framework torqued into place under strain transfers that stress to the implants and the bone, and over time that becomes a mechanical-complication risk.
The second check is the prototype try-in. A PMMA or printed prototype, built to the proposed definitive design, lets the provider and patient evaluate esthetics, phonetics, occlusion, and vertical dimension in the mouth before any zirconia or titanium is finalized. Adjustments are cheap at this stage and expensive after. If the midline is off, the lip support is thin, or the occlusal scheme needs refinement, the prototype is where that gets caught and corrected.
Together, the jig and the prototype turn the definitive prosthesis from a leap of faith into a confirmed design. By the time the lab mills the final restoration, fit, function, and esthetics have all been validated against the patient, not just the model.
Stage 6: The Definitive Prosthesis
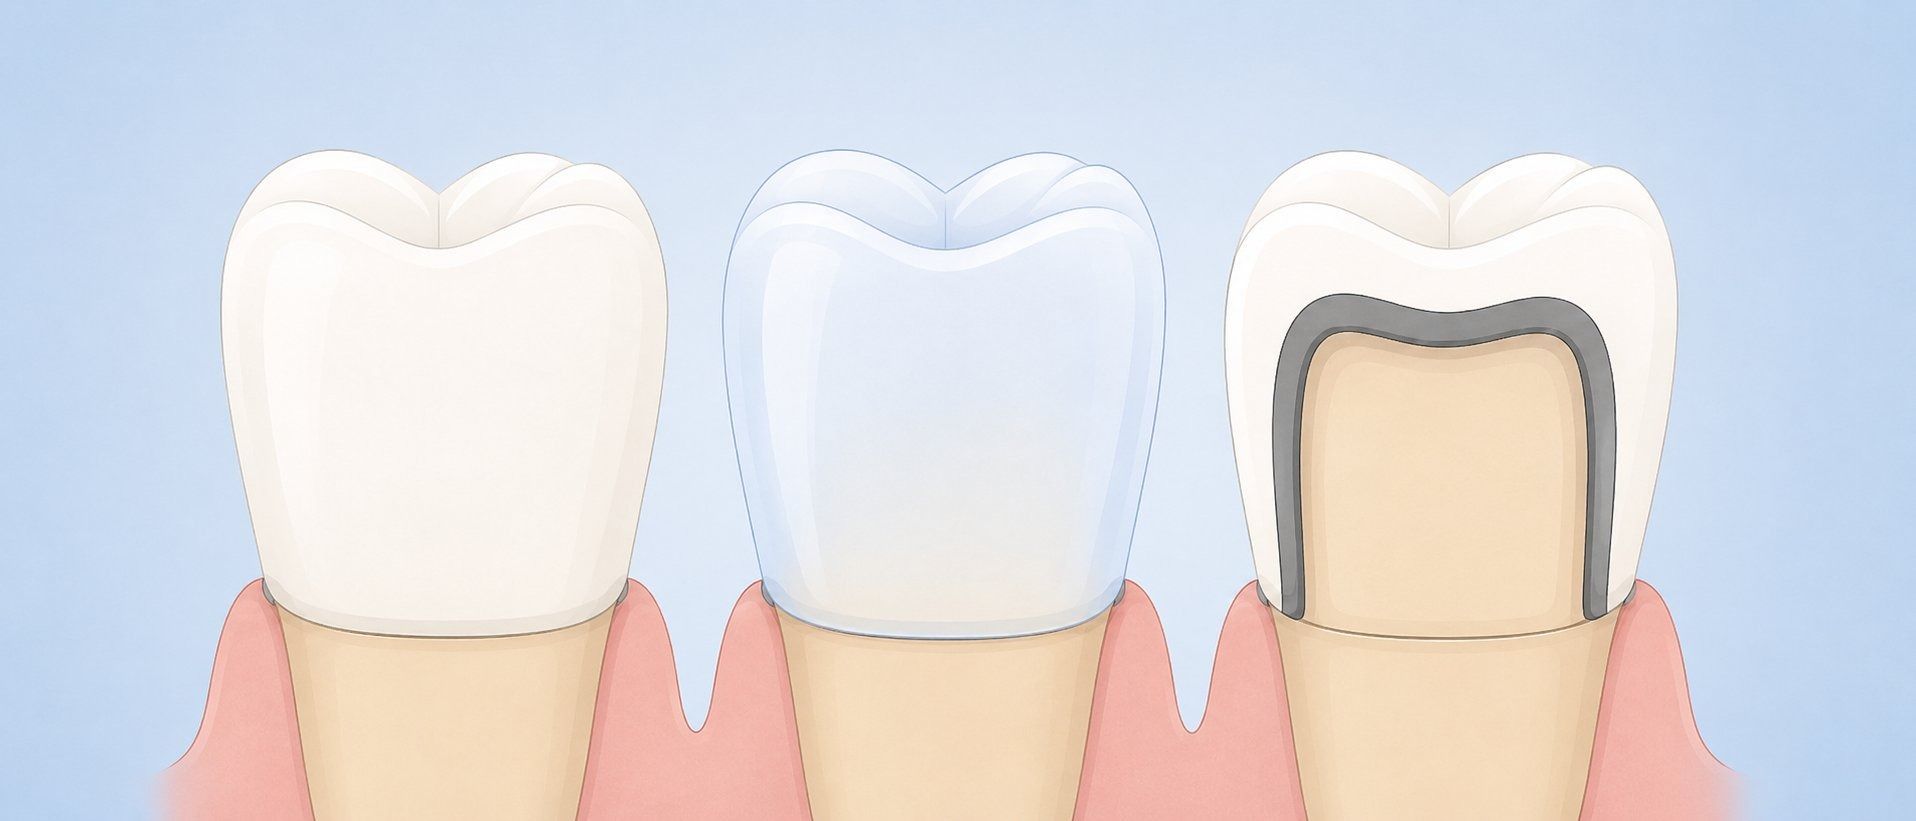
With the design validated, the lab fabricates the definitive prosthesis. Material choice usually comes down to monolithic or layered zirconia versus a titanium bar hybrid. Monolithic zirconia offers high strength and a low maintenance profile, with esthetic layering reserved for visible surfaces. A titanium bar hybrid pairs a milled metal substructure with denture teeth and acrylic, which can simplify repairs and suit certain occlusal schemes. The right answer depends on esthetic demand, available prosthetic space, the opposing dentition, and how the case manages load.
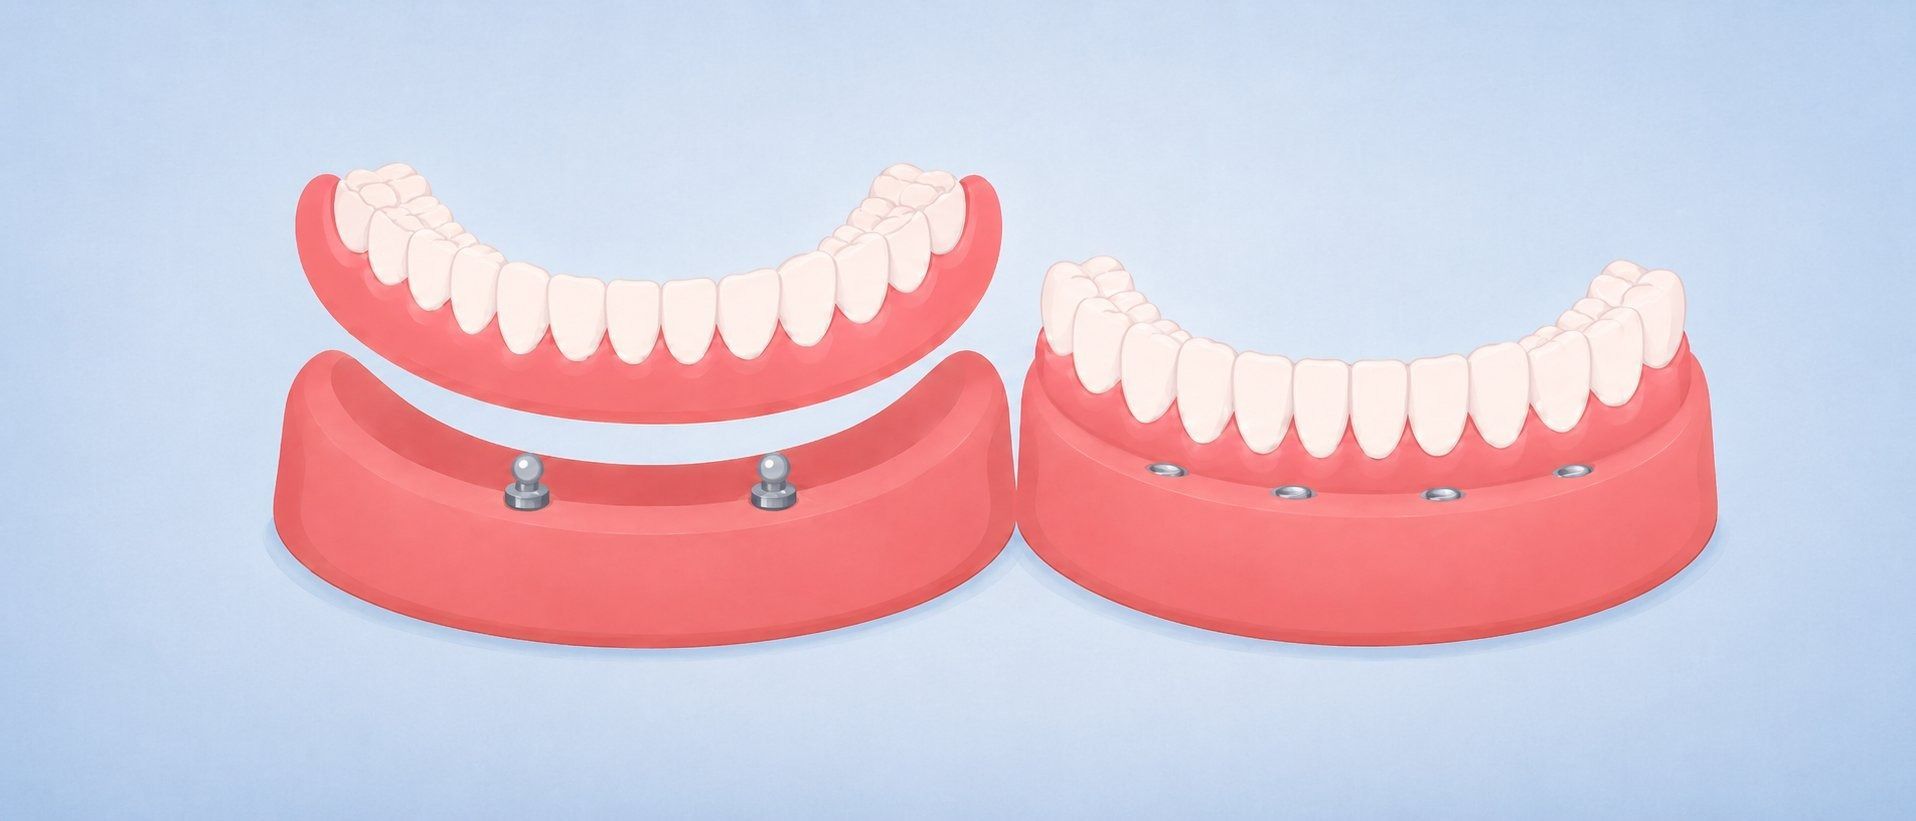
Design drives longevity as much as material does. Cantilevers are kept conservative to limit leverage on the terminal implants. The occlusal scheme is built to distribute force broadly, and hygiene access is designed into the intaglio so the patient can actually clean under the prosthesis. These decisions, made during planning and confirmed at the prototype, are what carry a full-arch case through years of function. Summit-Horizon's full-arch implant solutions cover All-on-X cases in both fixed and detachable designs, matched to the occlusal scheme and prosthetic space of each case. Screw retention dominates full-arch work for retrievability, a tradeoff explored in screw-retained versus cement-retained implant crowns.
The long-term evidence for full-arch fixed rehabilitation is encouraging, with appropriate caveats. In the originating All-on-4 mandibular cohort, reported implant success rates reached 98.1% at 5 years and 94.8% up to 10 years (Maló et al., 2011), and a later report from the same group followed mandibular cases for 10 to 18 years (Maló et al., 2019). These results come from the protocol's originators and a single high-volume clinic, so they reflect favorable conditions rather than a guarantee for every practice. Read as a ceiling of what the approach can achieve in experienced hands, they make a strong case for disciplined planning and fabrication.
How Summit-Horizon Collaborates on Full-Arch Cases
Across all six stages, Summit-Horizon works as the planning-and-fabrication partner while surgical responsibility stays with the clinician. The team contributes to collaborative digital implant treatment planning from merged IOS and CBCT data, designs and fabricates surgical guides, builds verification jigs and PMMA prototype try-ins, and produces definitive frameworks in monolithic or layered zirconia or as titanium bar hybrid designs. Restoration design and CAD/CAM run on 3Shape and DS InLab, with in-house 3D printing on Asiga MAX and Asiga Pro 4K systems for guides, prototypes, and printed provisionals.
That work is led by Michael Wandling, Master CDT and 2025 CDT of the Year, recognized by the National Board for Certification in Dental Laboratory Technology. Bringing a lab with that depth into the case early means screw-access positions, cantilever length, material thickness, and hygiene access are engineered from the first plan rather than negotiated at delivery. The payoff is a prosthesis built to seat the first time.
Planning a full-arch case? Bring Summit-Horizon in at the planning stage, so guide design, the immediate provisional, the verification jig, and the definitive prosthesis are coordinated from the start. Contact Summit-Horizon to plan your next full-arch case with our team, or submit a case to get started.
References
Share Post
Search Post
Recent Insights